- i only discuss the general printer troubleshooting and then simple explains how to troubleshoot problems specific to each of 3 major printers.
- turn to the manufacturer's WEB SITE for additional information and support..hahahaa
PRINTER DOES NOT PRINT???oh my god,please help me!!!
- the problem can be from the printer
- the PC hardware / Operating System (OS)
- the application
- printer cable
- network (if use)
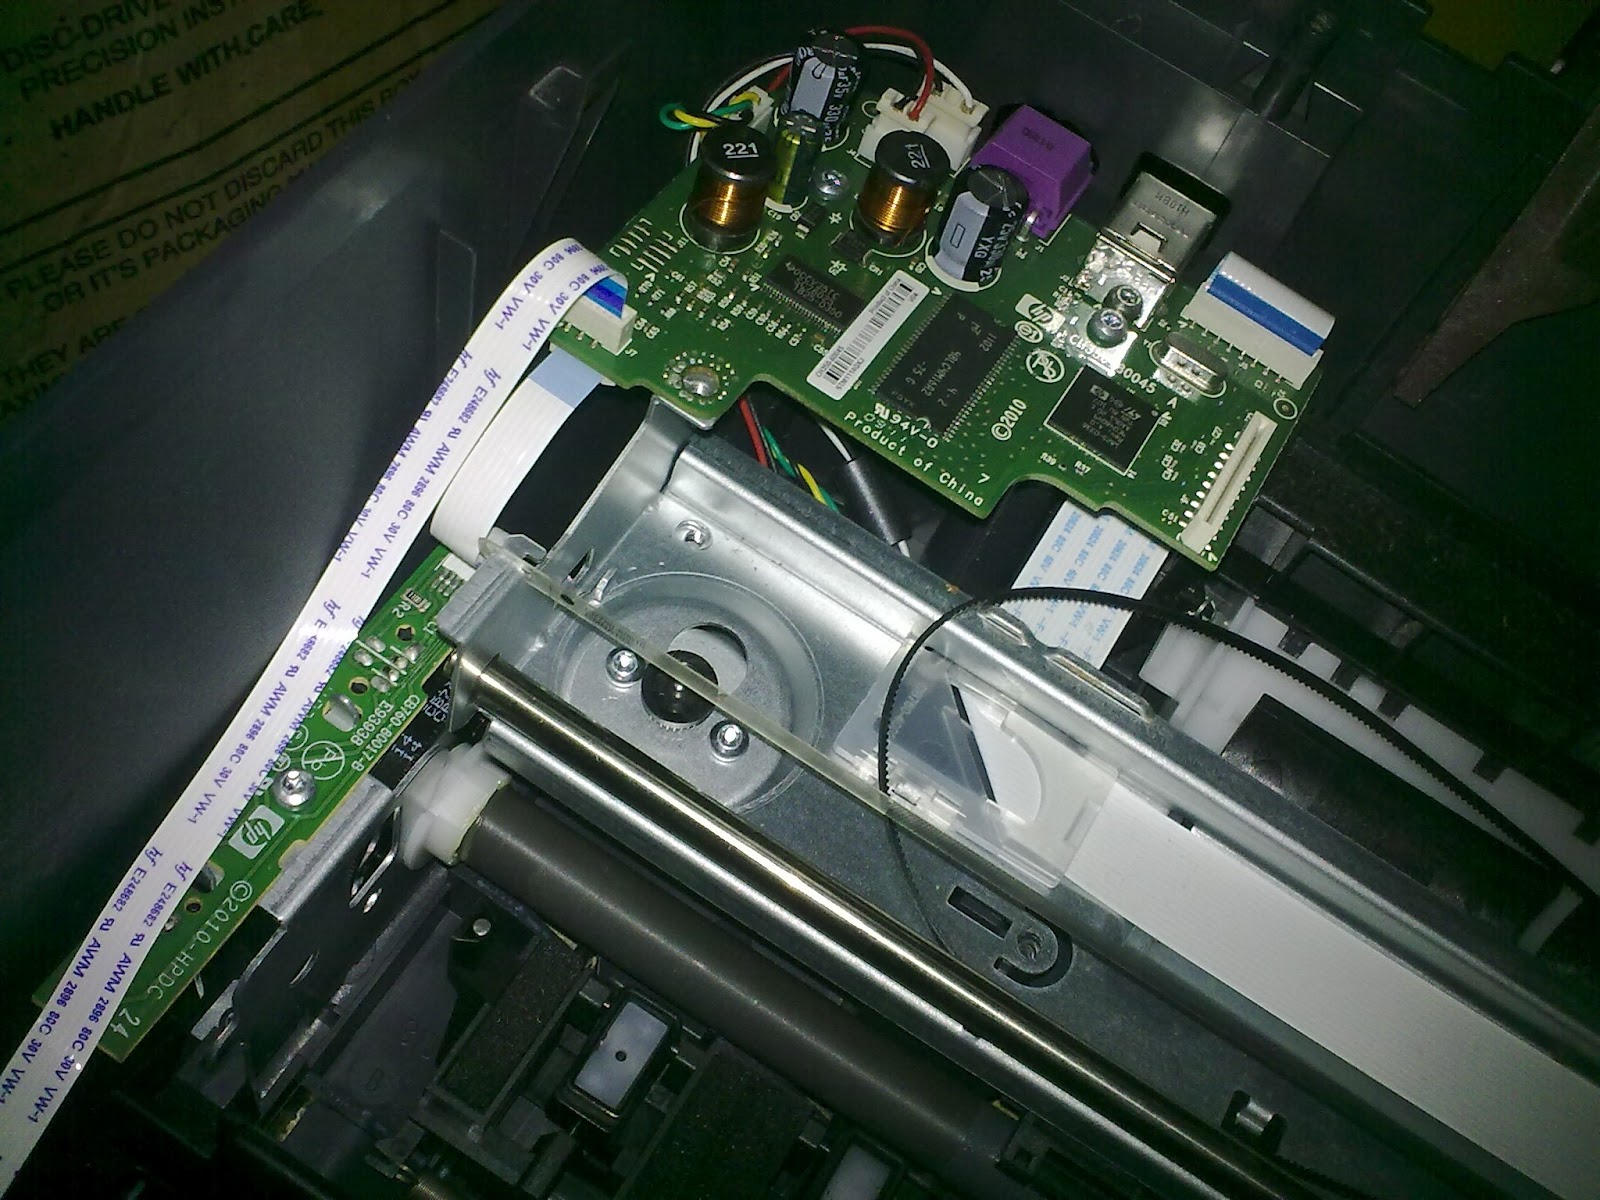
the problem can be from the printer

- check the printer is ON or NOT..
- print SELF-TEST PAGE..
if the printer print correctly its mean the printer in good condition but do not be fooled..
you must verify that the information is correct or not..
such as: the printer have memory in there (do you know??)
for example: printer have 2MB of on-board memory but the report at self-test page show 1MB only,there is the problem..
other problem can be from printer is..
- during the self-test page the printer does not print / prints incorrectly??
- missing dots
- smudged streaks through the page

- does printer have paper??
- installed paper correctly??
- paper jam in there??
- does the paper damp / wrinkled it will cause refuse to feed??
- the printer cover and rear access doors properly closed and locked??
inkjet printer - check the ink cartridge are installed or not, do protective tape removed??
***the solution is - replace the new toner / ink cartridge..
CHECK THE POWER SOURCE OK or NOT..
***try another power source or change for new printer adapter.. READ THE GUIDE BOOK AND GOOGLE THE WEB SITE FOR TROUBLESHOOTING...
the PC hardware / Operating System (OS)
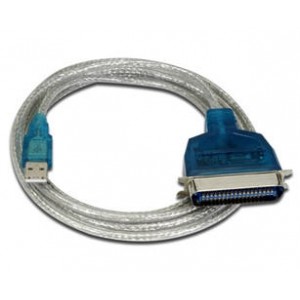
- check the cable firmly connect or not..
- 4 a USB port, try another port..
- 4 some parallel ports, you can screws on each side of the port for securely anchor the cable..if you think the cable problem, you can use multimeter to check..
- try different cable, 4 older parallel cables make sure not longer than 10feet..
- try print with same cable/printer but different PC.
***uninstall and reinstall back the driver..
that all for now, will be continue..wait for the rest..alright???
i hope you understand,sorry for the language..to straight..hahaa...